
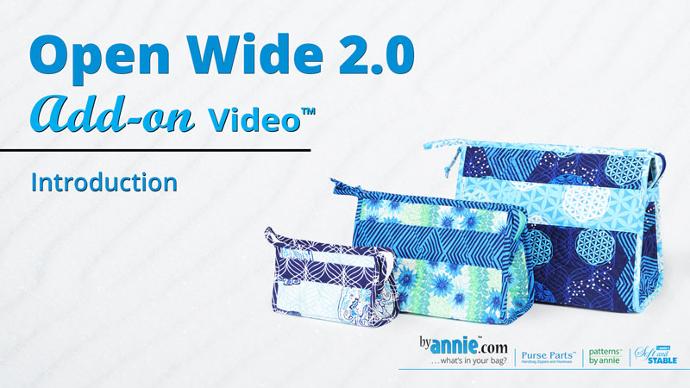
It’s time to give Open Wide 2.0 a warm welcome! We’re excited to announce this new, updated pattern. Learn more about this easy-to-make project in the An Introduction video, below. For an even more in-depth look at Open Wide 2.0, take the time to watch the A Closer Look video.
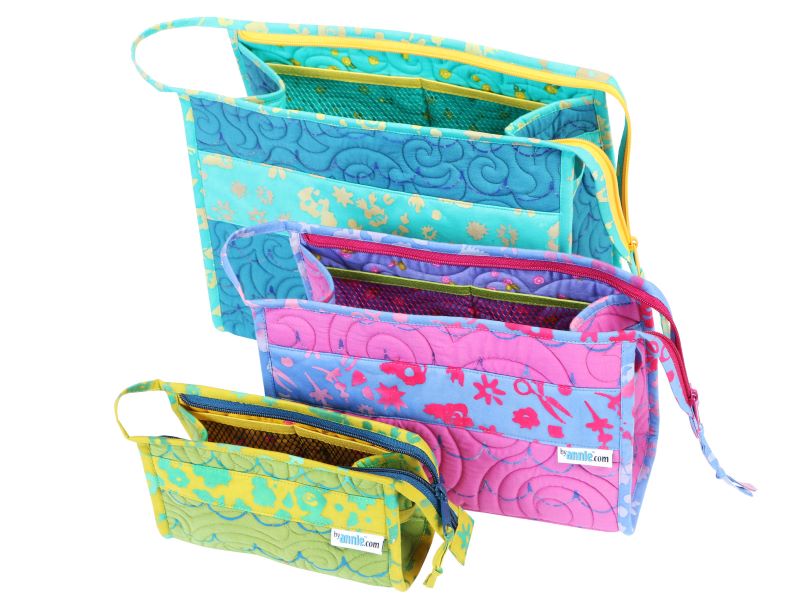
Quick and fun to make, our Open Wide 2.0 pattern includes instructions for three sizes that open wide to give you easy access to all your supplies. Slip these classy zippered bags into your suitcase, or use them to maximize the space on your vanity.
What’s different about the 2.0?
Open Wide 2.0 is an update of Open Wide which was released in 2016. Just like a new edition of a textbook, this new version of the pattern features improved design and layout, easier-to-follow steps and diagrams, and our newest and best techniques.
Specific changes include:
- Eliminated excess mesh at bottom of the bag
- Replaced fabric binding on mesh pockets with fold-over elastic
- Improved bag shape, particularly on small
- Included stitched fold lines to side for easy folding
- Add-on Video™️
What should I put inside my Open Wide 2.0?
Whatever you want! To get you inspired, here are some ideas and suggestions for each size...
SMALL:
- Hair ties
- Scissors/rotary cutter
- Travel toiletries
- Tiny doll shoes/accessories
- Crochet hooks
MEDIUM:
- Thread cones
- Electronics/cords
- Cosmetics
- Small planner/journal
- Vitamins/supplements
LARGE:
- Travel iron
- Fabrics
- Diapers/wipes
- Art supplies
- Headphones
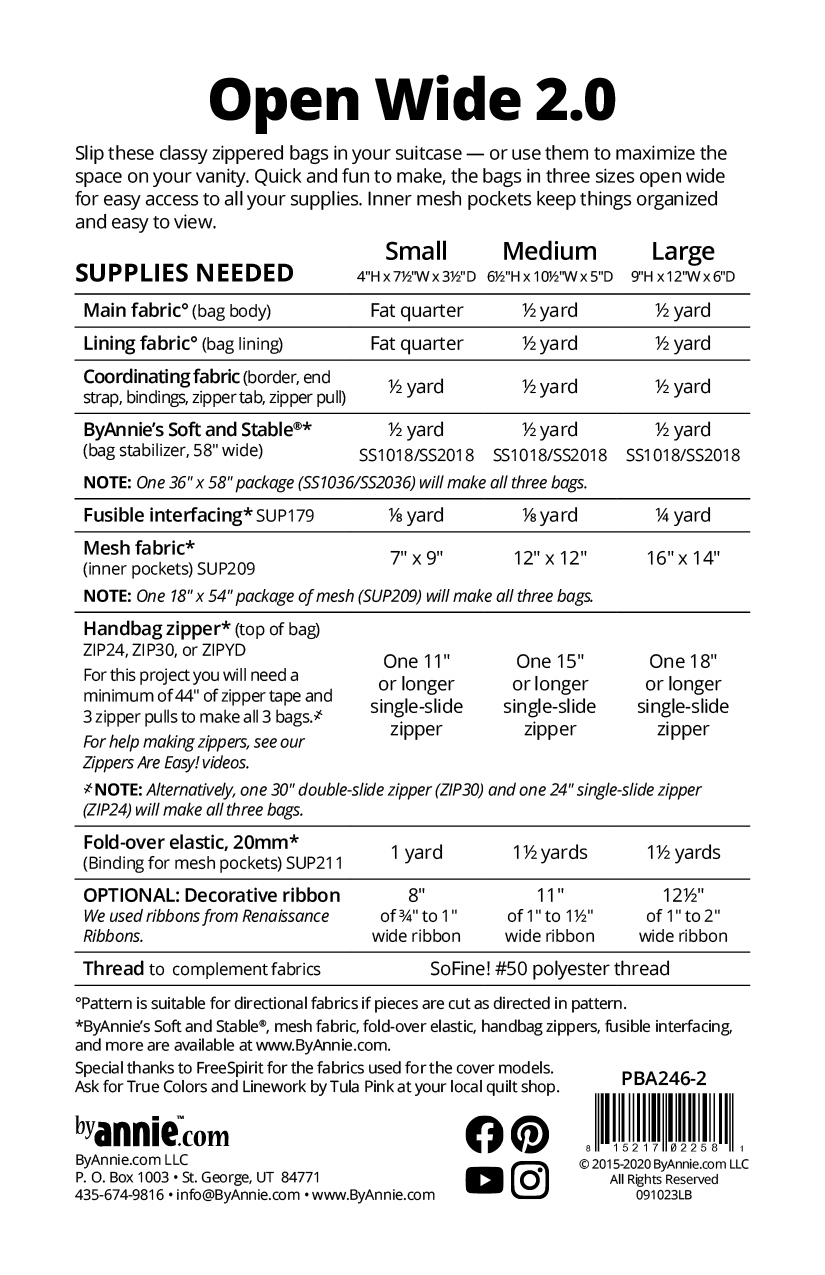
What do I need to make this project?
Supplies needed:
Click HERE to view more details.
Suggested supplies/tools:
- ByAnnie’s Stiletto & Pressing Tool
- Ribbons (optional) for borders
- Wonder Clips
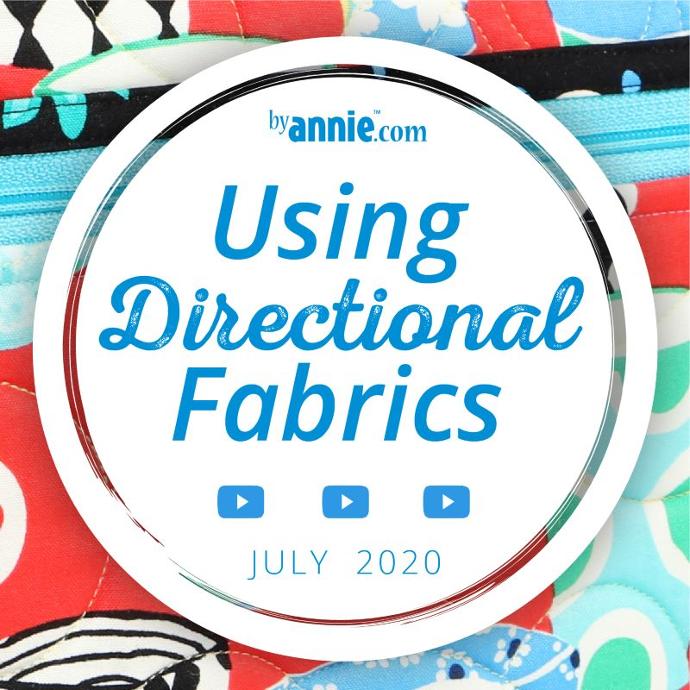
Using directional fabrics.
If you’re planning to use directional fabrics when sewing Open Wide 2.0, we recommend watching our Using Directional Fabrics video to make sure your directional fabrics don’t end up upside-down on your finished project!
The main body of Open Wide 2.0 is primarily one continuous piece of quilted fabric. To use a directional fabric design you will have to take a couple of extra (easy) steps to ensure your fabric design isn’t upside down on one side.
If you’re not using directional fabrics, then no extra steps are needed.
Watch and learn.
We recommend watching the Add-on Video™ before you start sewing, to get a good grasp on what you’re about to begin. The Add-on Video™ can be especially helpful to watch before attending an Open Wide 2.0 class at your local quilt shop. That way you can be sure to have all your project pieces ready to go before class.
Your paper pattern will come with a coupon code of $5 value that will give you access to the Open Wide 2.0 Add-on Video. Just add the Add-on Video™ to your cart, plug in the code that comes with your paper pattern, check-out, and watch the video over and over in your digital library. You will need to wait for your paper pattern to arrive in the mail to get your coupon.
The Add-on Video™ is not a start-to-finish tutorial, but a supplemental video that will walk you through the more unique/challenging parts of the pattern. This video series will help you with these steps:
- Introduction
- Overview of Project
- Determine Size
- Attach End A to Bag Body and Bind
- Attach Zipper
- Bind Zipper
Conclusion.
Thank you so much for your interest in our patterns. We wouldn’t be where we are today without makers like you. Be sure to check out our ByAnnie Photo Contest and follow us on social media at @PatternsByAnnie to gather inspiration for your next big make. Let us know in the comments what you're working on!
----Happy Stitching!
Introducing: Open Wide 2.0