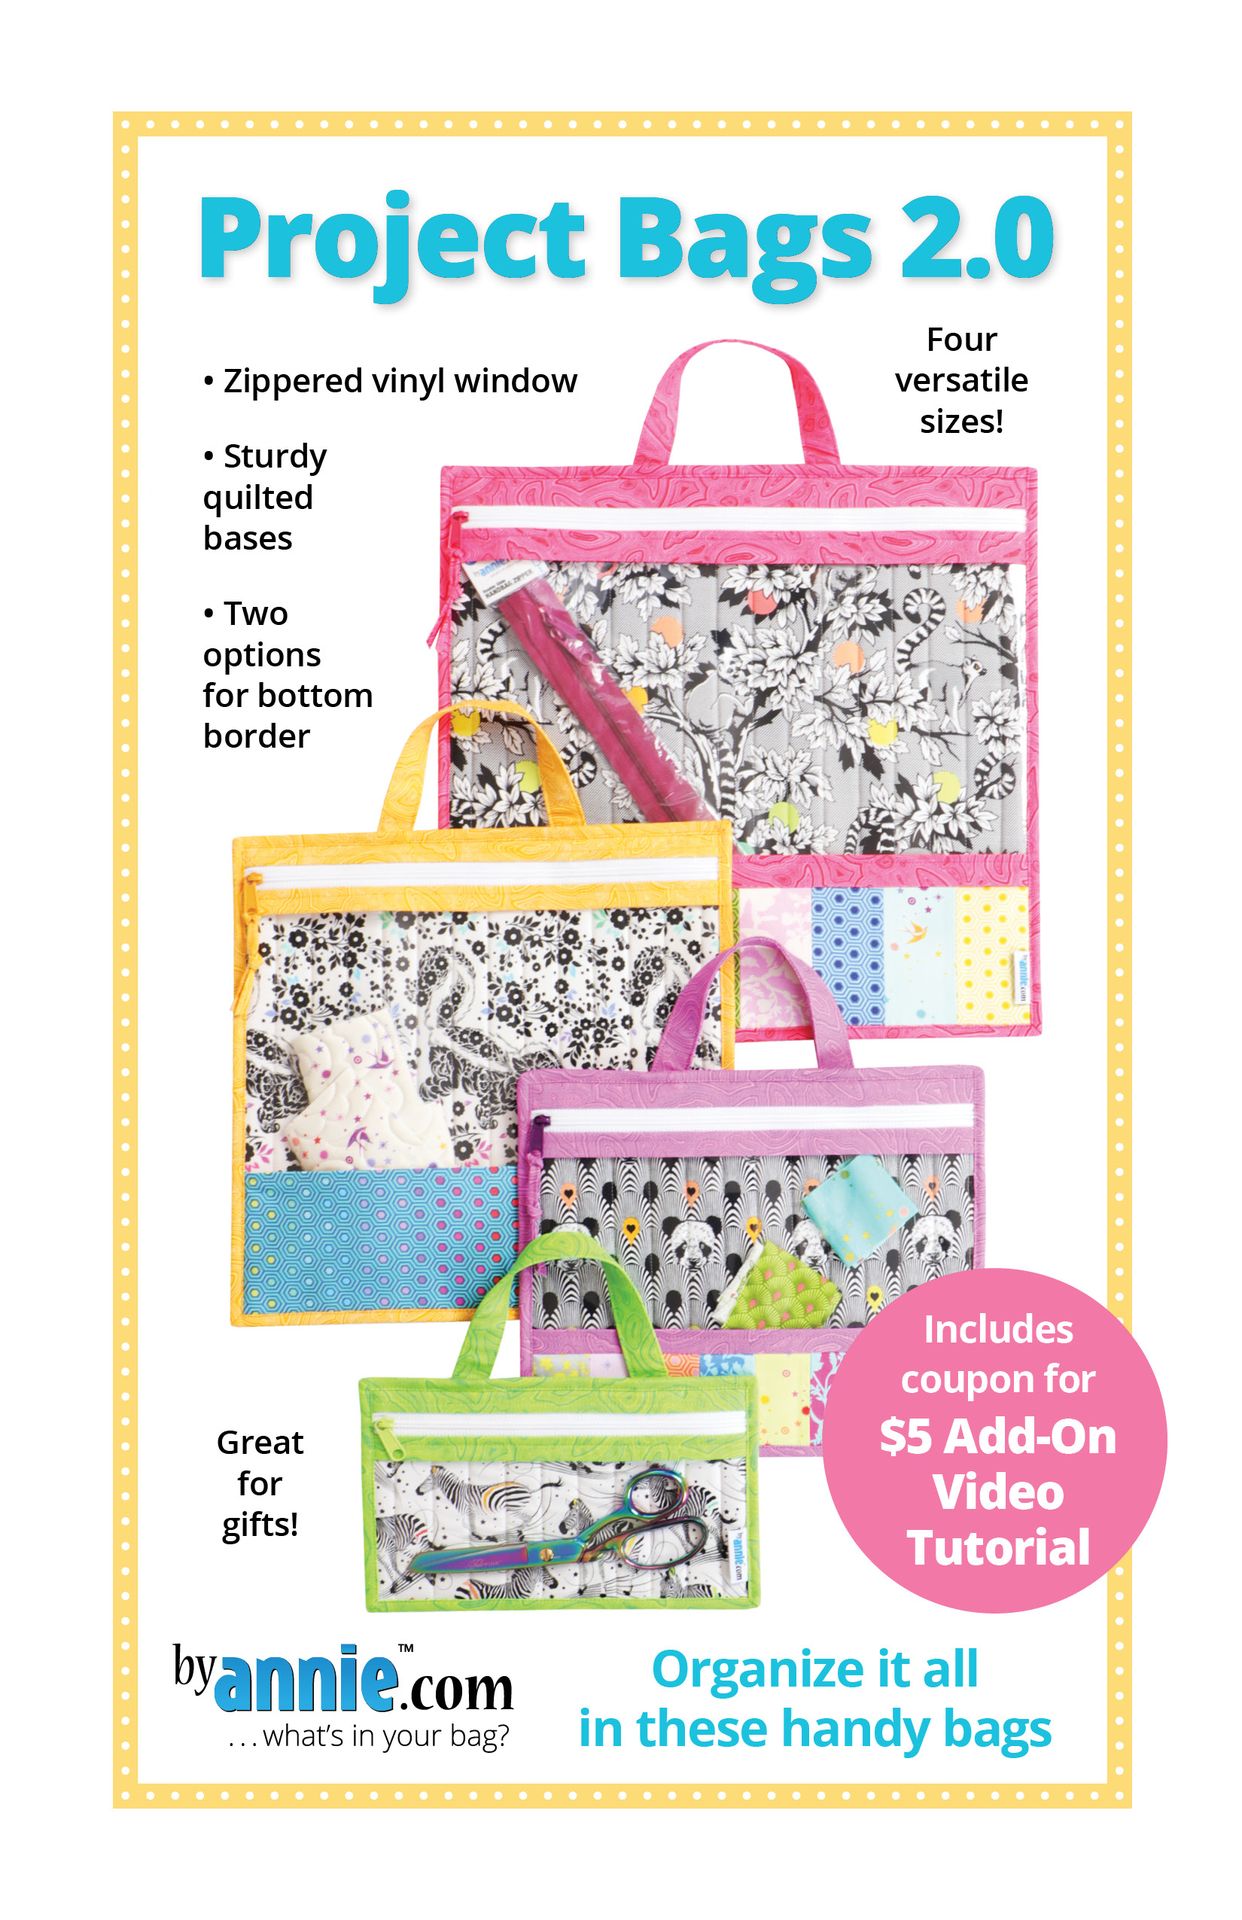
Say ‘hello’ to Project Bags 2.0! We’re excited to announce this new, updated pattern. Learn more about this easy-to-make project in the An Introduction video, below. For an even more in-depth look at Project Bags 2.0, we recommend you watch our A Closer Look video.
About Project Bags 2.0!
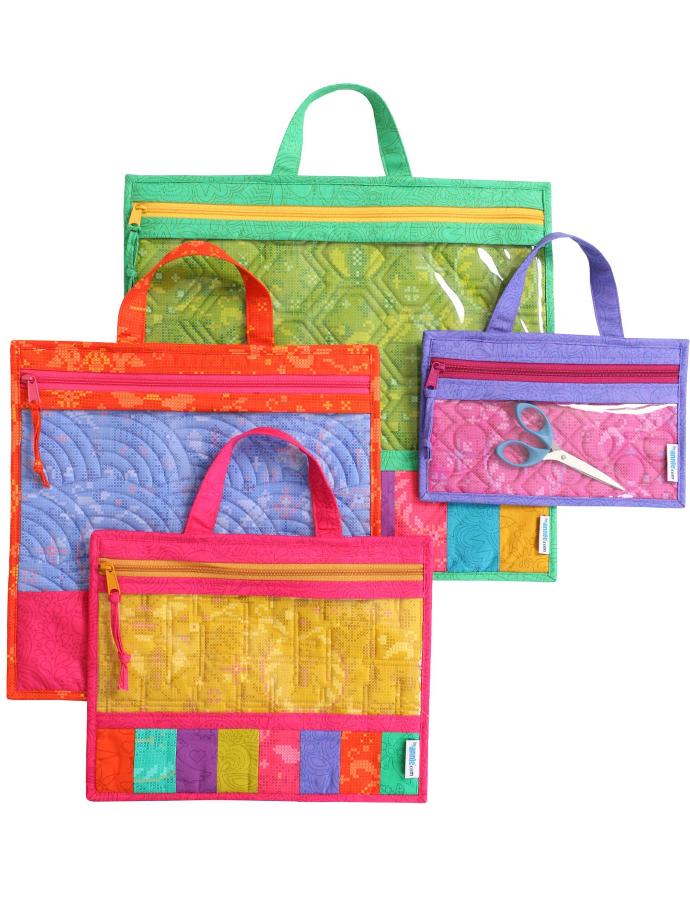
This pattern includes instructions for four stylish project organizers. These handy zippered bags have sturdy quilted bases and vinyl windows for visibility of contents.
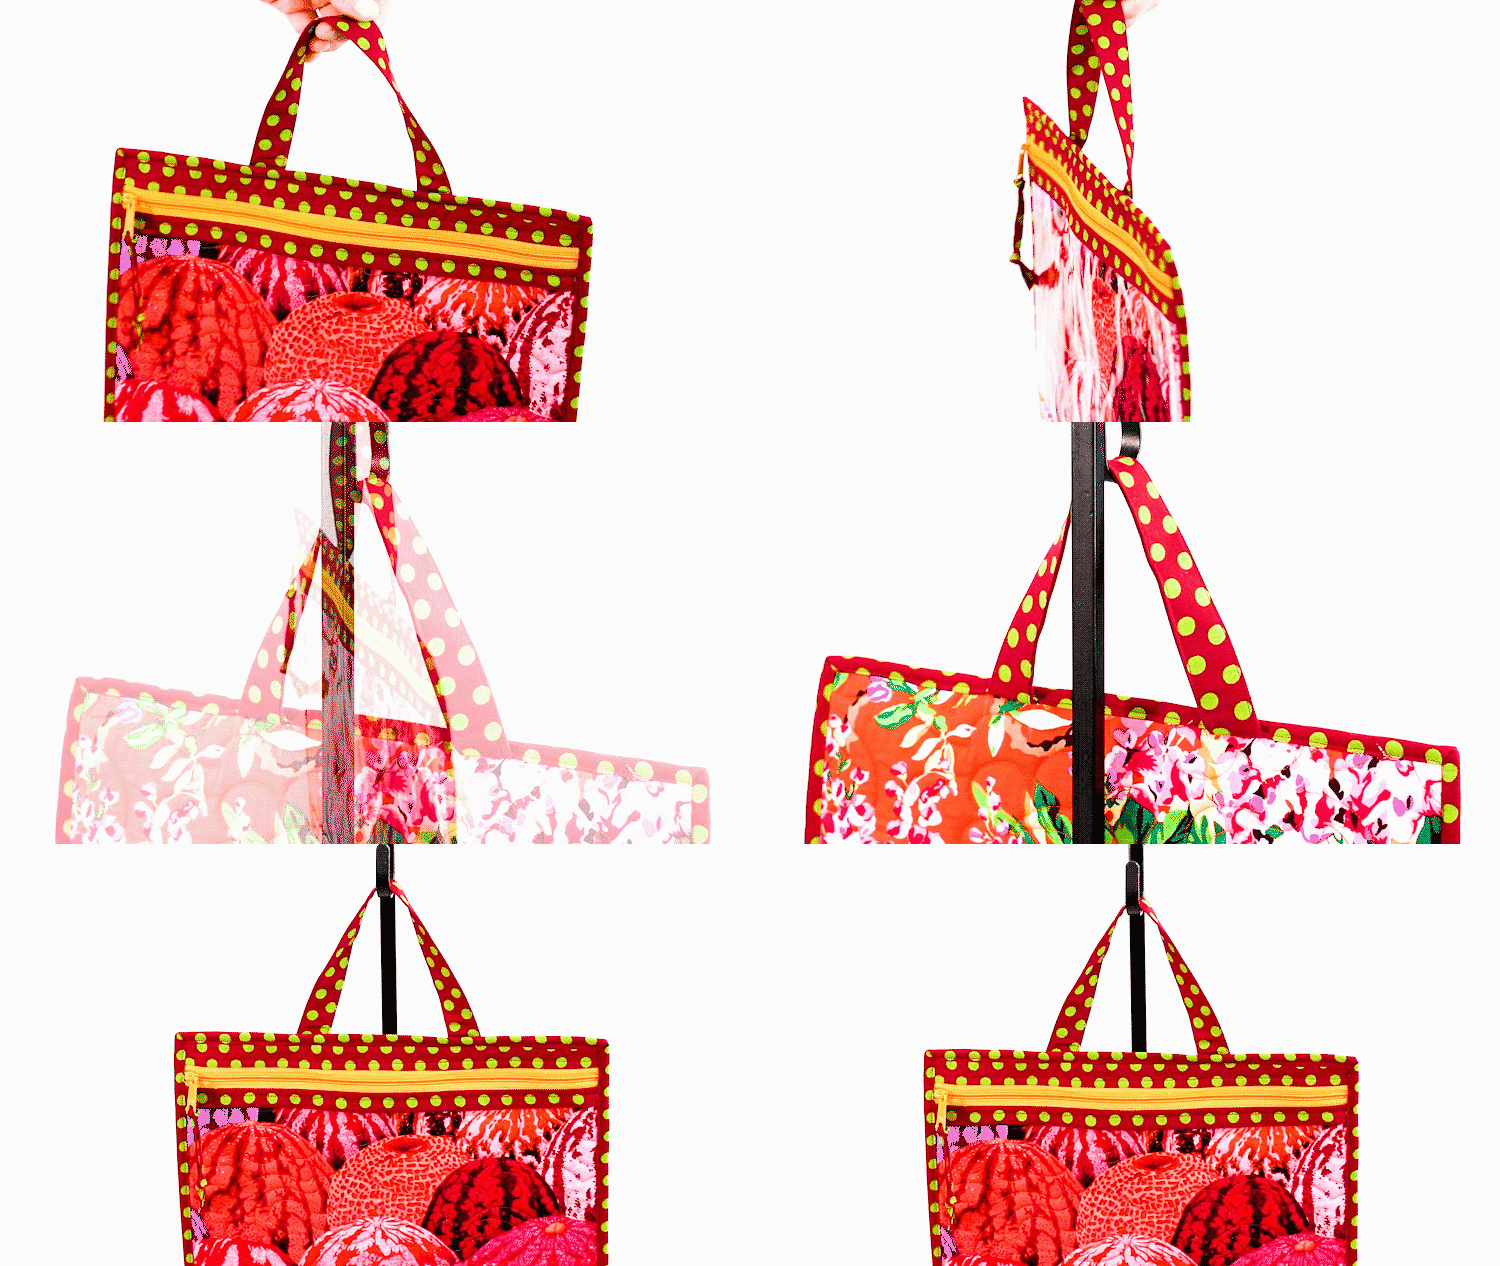
A handle at the top may be used for carrying or hanging.
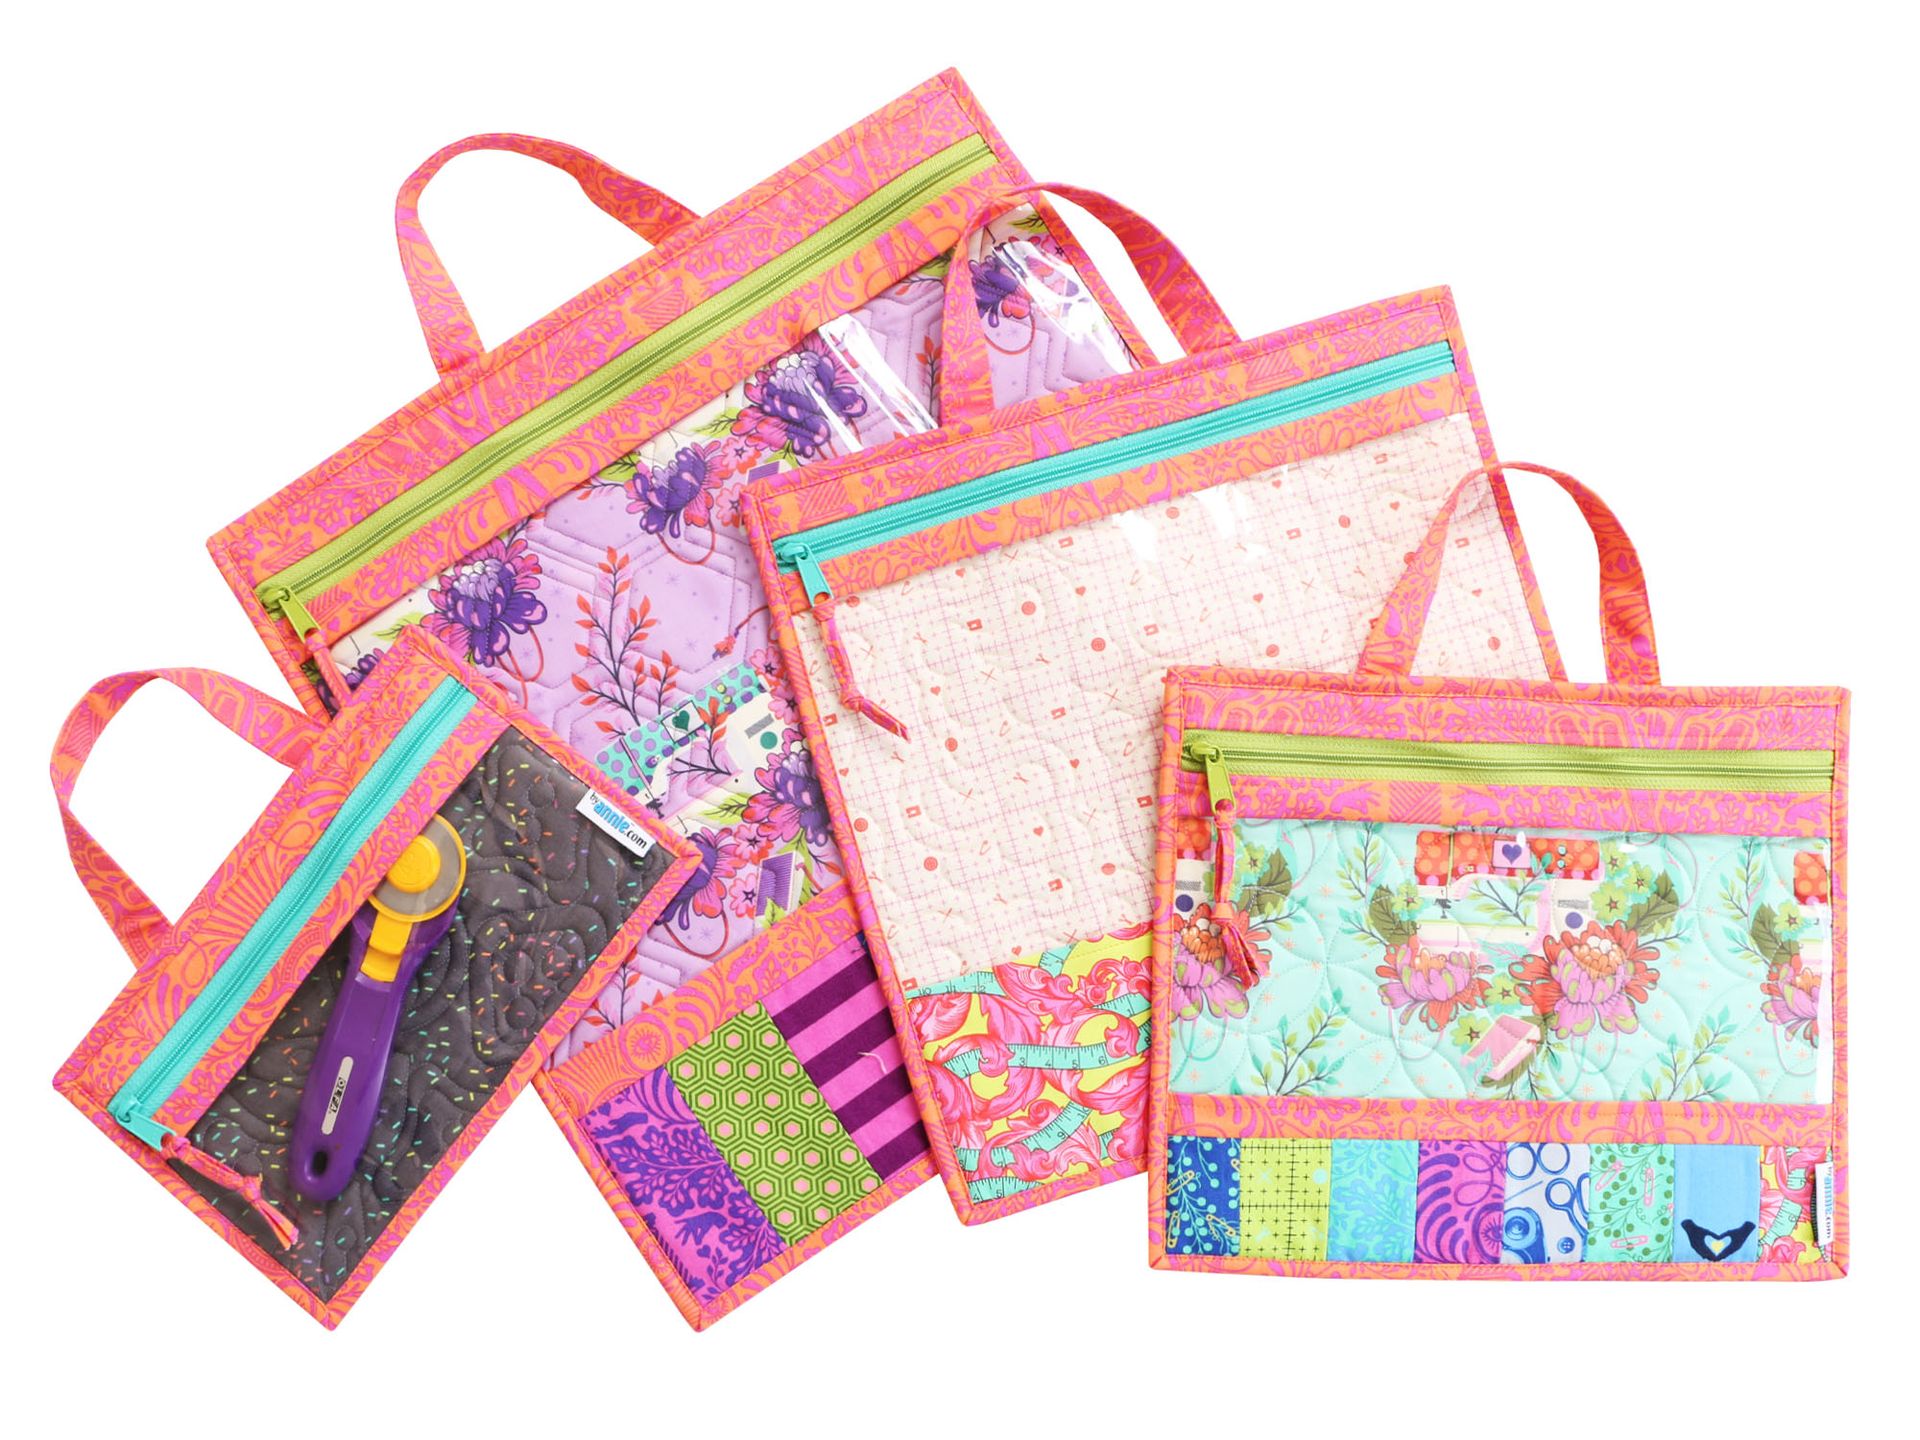
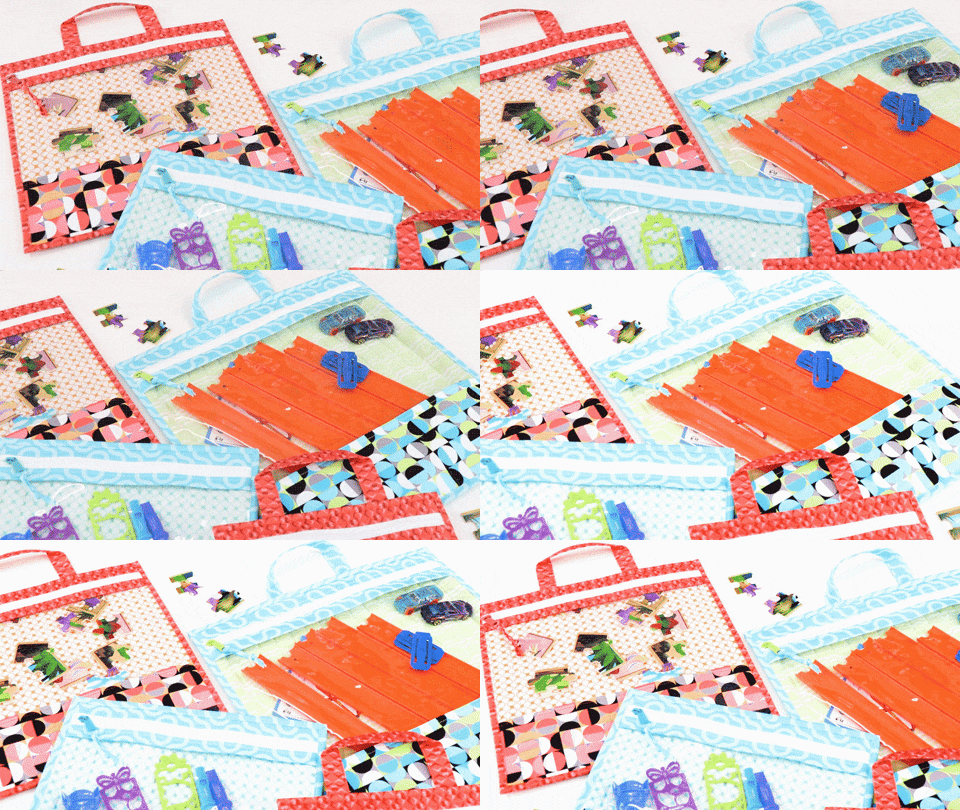
The medium, large, and jumbo bags also have colorful borders at the bottom. These borders may be pieced or may feature a single fabric. Hold and organize everything from sewing supplies to puzzles, games and more in these sturdy bags.
What’s different in the 2.0 version?
Project Bags 2.0 is an update of Project Bags which was released in 2013. Just like a new edition of a textbook, this new version of the pattern features improved design and layout, easier-to-follow steps and diagrams, and our newest and best techniques. Specific changes include:
- Added a lining and interfacing to border strips. No more raw edges inside.
- Replaced polypro strapping with interfacing in handle. Eliminating a visible seam.
- Updated a few dimensions and reduced top stitching. Easier to make.
- We have also filmed an Add-On Video for the project to help you make the bags. Since the Project Bags 2.0 pattern includes a coupon to get the Add-On Video at no charge, we would recommend that you purchase the new and improved version of the pattern.
Learn more about what goes into the making of a 2.0, and what all the hubbub is about, by reading THIS BLOG POST!
Four useful sizes!
We included four useful sizes in the pattern so you can sew for what suits your needs best! Carry everything from project pieces and English Paper Piecing, to notions, to classroom/home-school supplies, and more.
SMALL: 6½"H x 10½"W
MEDIUM: 10½"H x 12½"W
LARGE: 13½"H x 13½"W
JUMBO: 16½"H x 16½"W
Easy storage for your storage!
Each of the Project Bags 2.0 are flat and can easily be stored horizontally in a suitcase or on a shelf. Their handles also lend themselves to easy hanging, such as off a hook, the back of a chair, or on a hanger!
Our ByAnnie handbag zippers also have larger pulls for easy zipping and unzipping, so you can easily open and close your project bag to store your projects or take them out to play! Learn more about using our zippers HERE.
If you’ve never worked with vinyl before, you’ll be amazed at how easy it is. The vinyl windows on the project bags enable easy viewing. You’ll always know which UFO you have left to work on without ever needing to open the bag!
Working with vinyl.
Our vinyl is flexible, durable and easy to sew through.
We use the same needle and thread on our vinyl as we do with the rest of our sewing. Be aware that any stitching on vinyl will leave holes, so if you have to remove your stitches you’ll see the holes. Pins will leave holes, too, so we recommend securing the vinyl with Wonder Clips instead.
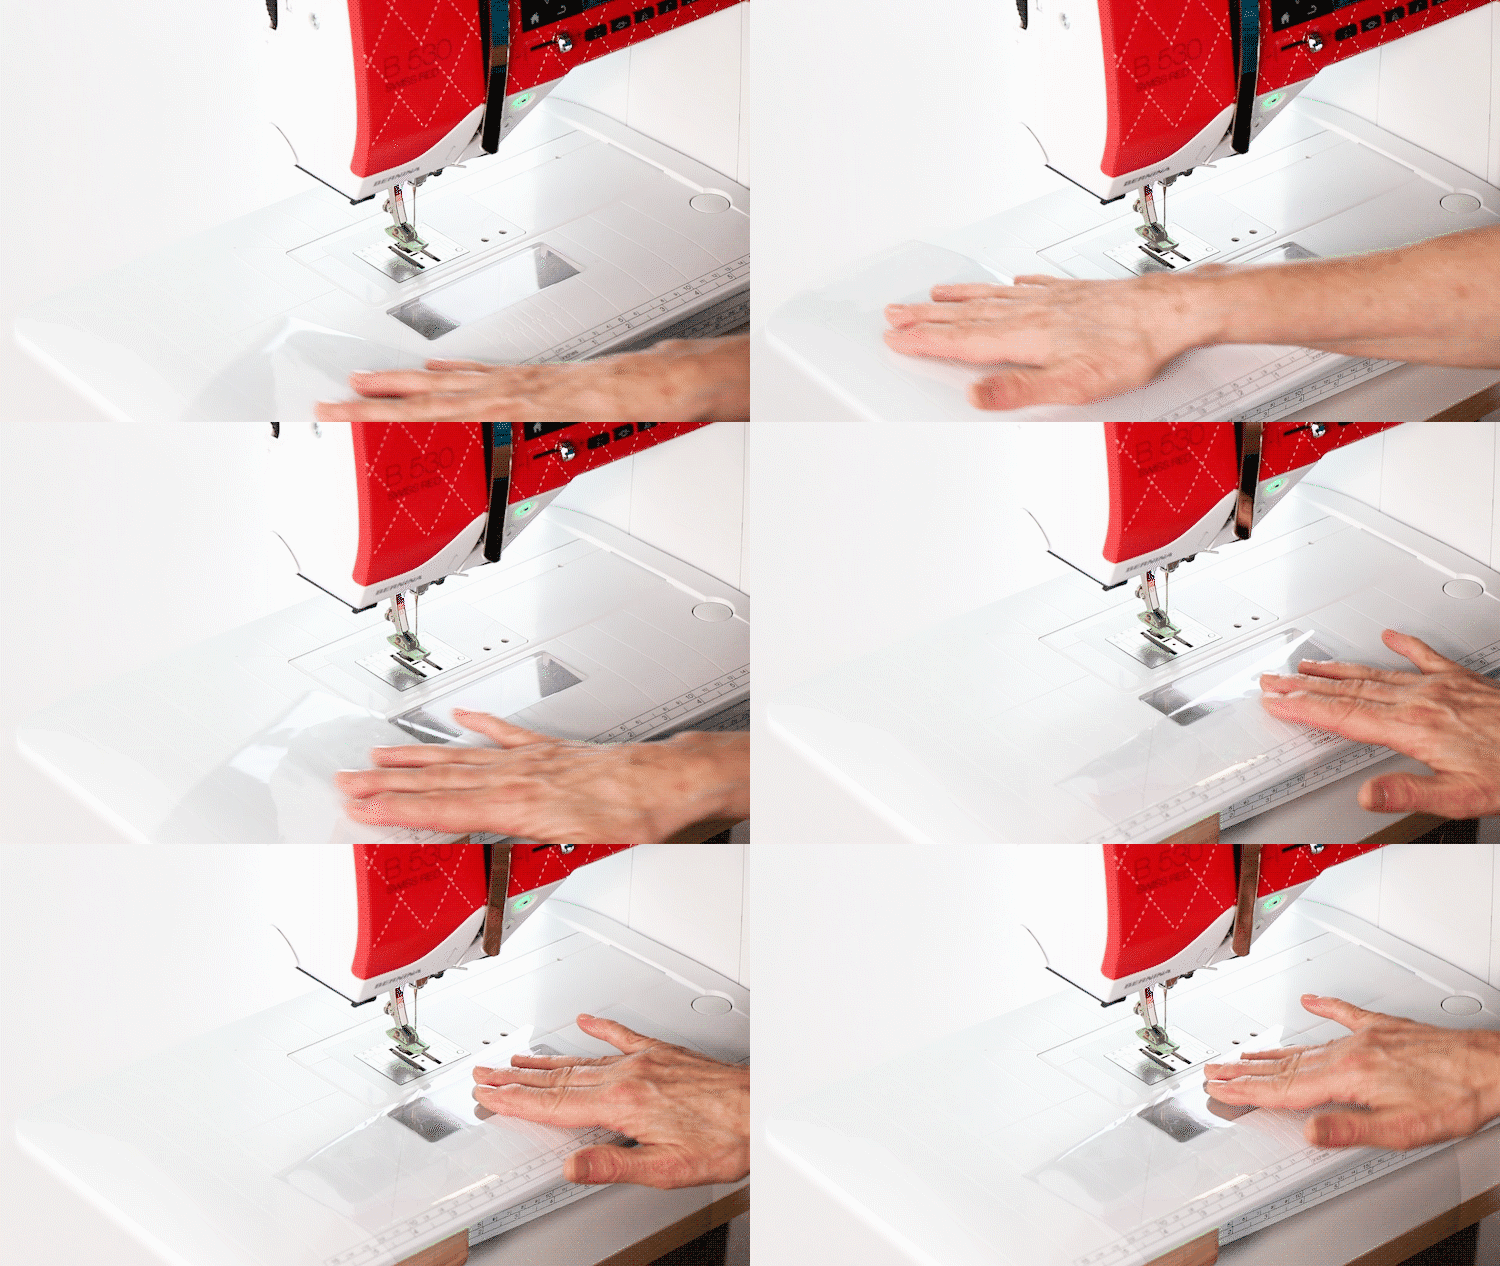
Vinyl creates static, which makes it stick to things like plastic. If your sewing machine foot is plastic, the vinyl may stick to it and not want to move as you sew; we recommend using a non-stick teflon foot.
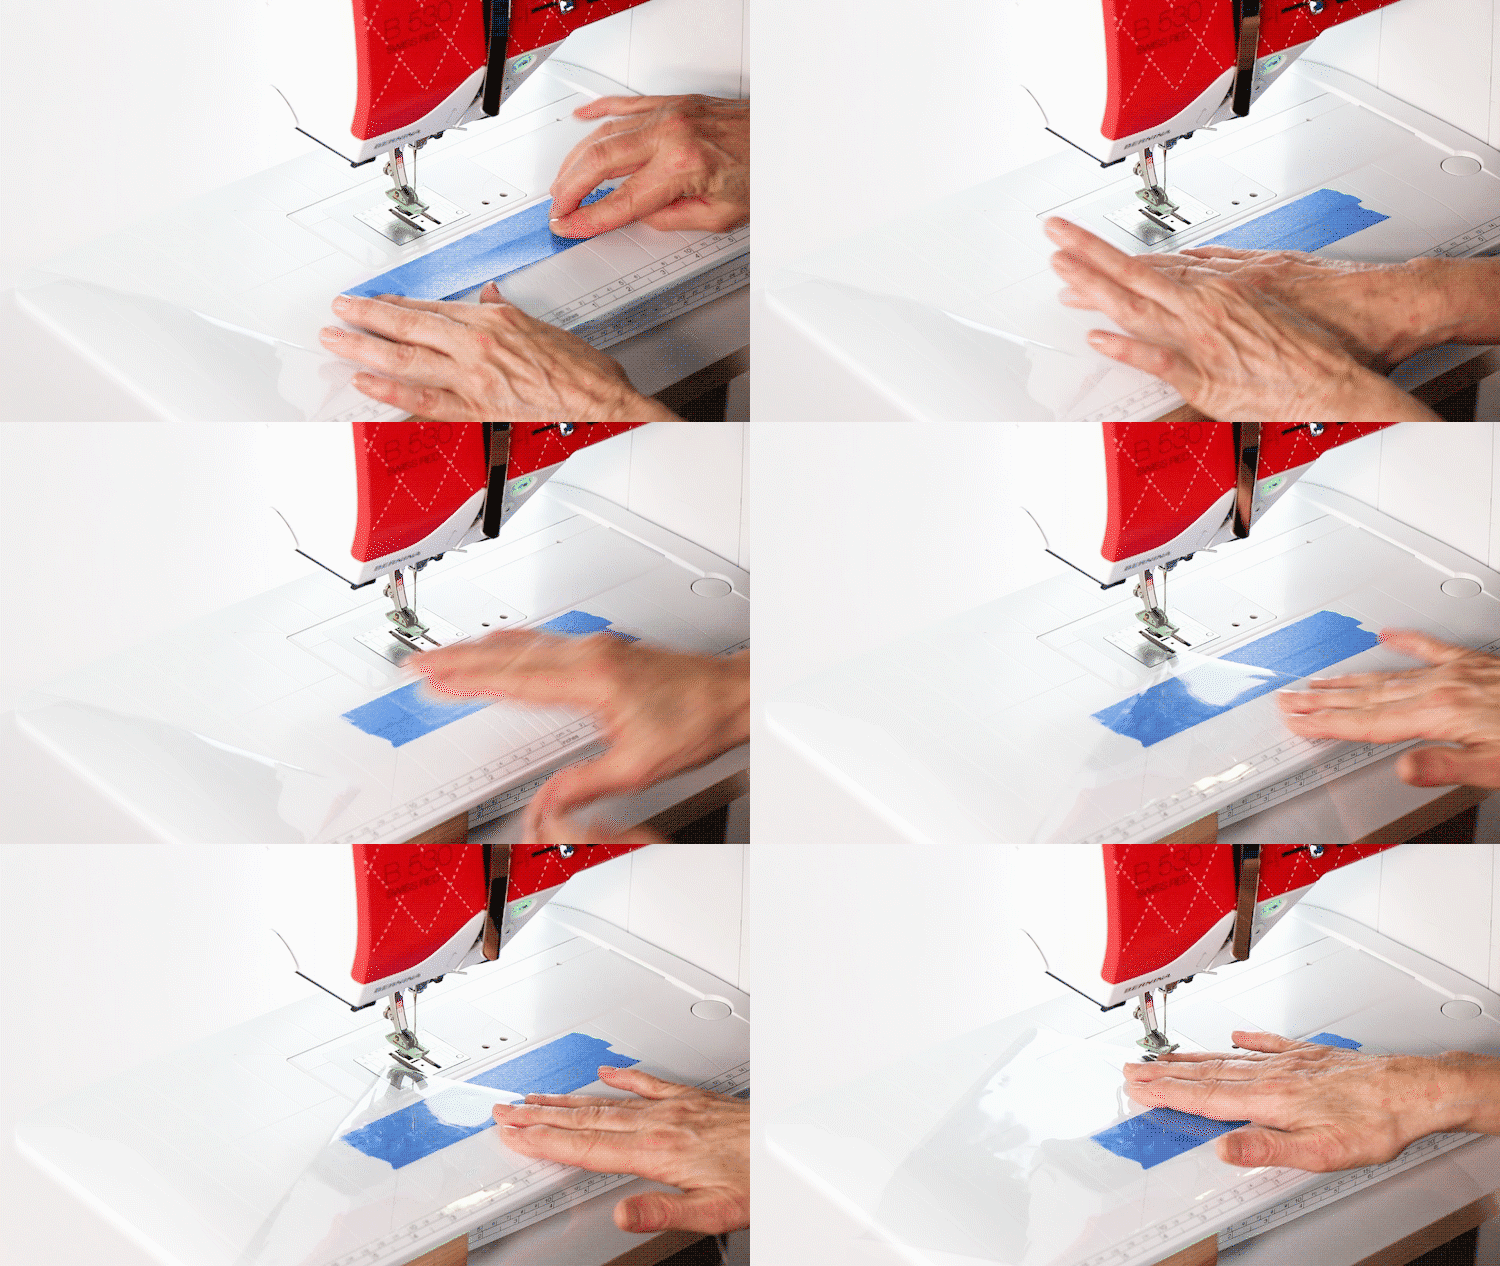
If you’re worried about the vinyl sticking to your sewing machine table as you sew, we recommend placing a piece of painters' tape down so that the vinyl slides smoothly as you stitch.
If your table is plastic, we also recommend taping down the tissue paper that comes with the vinyl to your table to reduce the static.
What do I need to make this project?
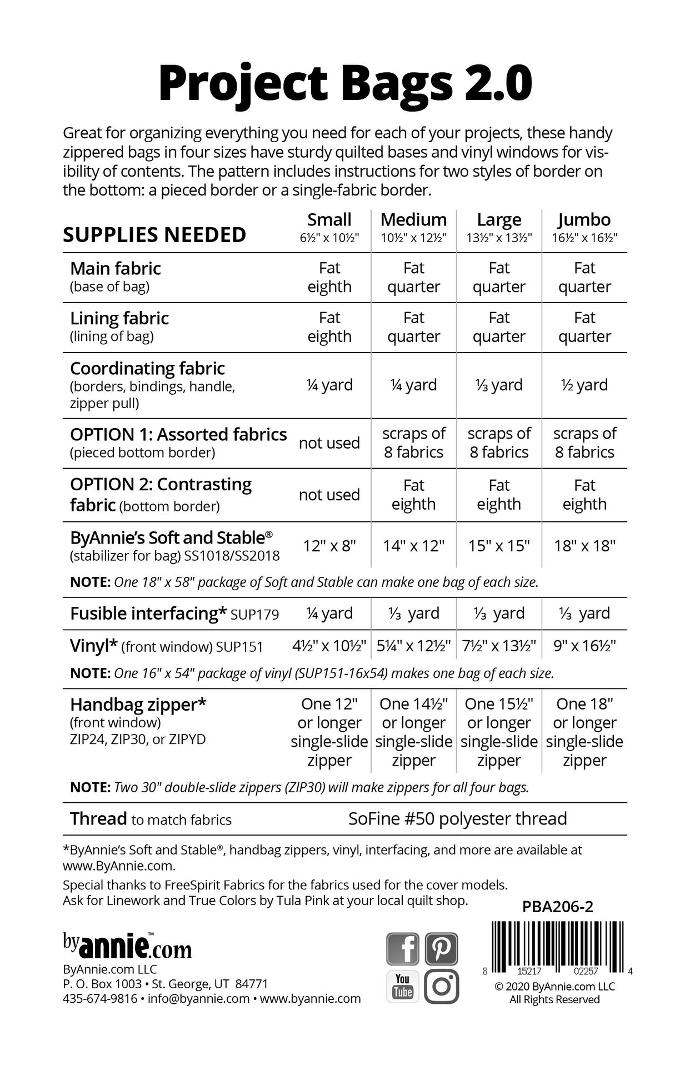
Supplies needed:
Click HERE to view more details.
Suggested supplies/tools:
- ByAnnie’s Stiletto & Pressing Tool
- Ribbons (optional) for borders
- Chalkboard fabric (optional) for borders
- Wonder Clips
Watch and learn.
We recommend watching the Add-on Video™ before you start sewing, to get a good grasp on what you’re about to begin. The Add-on Video™ can be especially helpful to watch before attending an Project Bags 2.0 class at your local quilt shop. That way you can be sure to have all your project pieces ready to go before class.
Your paper pattern will come with a coupon code of $5 value that will give you access to the Project Bags 2.0 Add-on Video. Just add the Add-on Video™ to your cart, plug in the code that comes with your paper pattern, check-out, and watch the video over and over in your digital library. You will need to wait for your paper pattern to arrive in the mail to get your coupon.
The Add-on Video™ is not a start-to-finish tutorial, but a supplemental video that will walk you through the more unique/challenging parts of the pattern. This video series will help you with these steps:
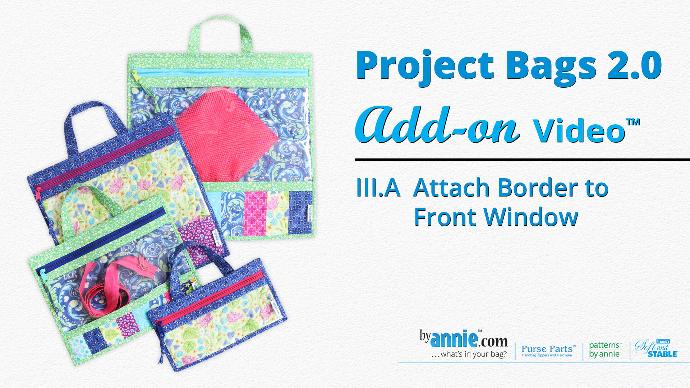
- Introduction
- Overview of Project
- Prepare Border (Option 1)
- Attach Border to Front Window
- Bind
Conclusion.
Thank you so much for your interest in our patterns. We wouldn’t be where we are today without makers like you. Be sure to check out our ByAnnie Photo Contest and follow us on social media at @PatternsByAnnie to gather inspiration for your next big make. Let us know in the comments what your best tips are for project organization!
----Happy Stitching!
INTRODUCING: PROJECT BAGS 2.0