Are you ready to spruce up your personal space with a set of new organizers? Then you’ll love our new pattern, Room With A View! Watch the video below for an introduction to this sturdy (yet, soft), zippered set of bins. To learn what it takes to get started, you’ll also want to watch the A Closer Look video that we filmed, as well as the intro video below.
Get organized in style!
Control the clutter with these sturdy zippered bins. Vinyl front windows afford quick and easy identification of contents. A zippered mesh pocket on the lid is a perfect place to store instructions or small pieces. Convenient handles on top and two sides made it easy to move and carry the bins.

Three sizes.
To give you a few size options, we created instructions for three sizes. Each size of Room With A View is designed to coordinate well with standard-sized cube shelves (i.e. IKEA KALLAX type), allowing you to not only become more organized, but also to decorate your room.
Small: 8½"H x 8½"W x 8½"D
Medium: 10½"H x 10½"W x 10½"D
Large: 12½"H x 12½"W x 12½"D
Choose fabrics that match your home or personal sense of style. You could sew a set of seasonal bins to put out for the holidays and fill them with blankets, decorations (think bulbs or pinecones), or gifts!
What will you use your Room With A View for?
Fill them up!
With three sizes to choose from you’ll have a great time filling these adorable ‘rooms.’ Here are a few suggestions for each size to get inspired.

Small:
Fat quarters
Dolls/small toys
Socks
Medium:
Knit/crochet supplies
DVDs
Video games
Large:
Sweaters
Stuffed animals
Games
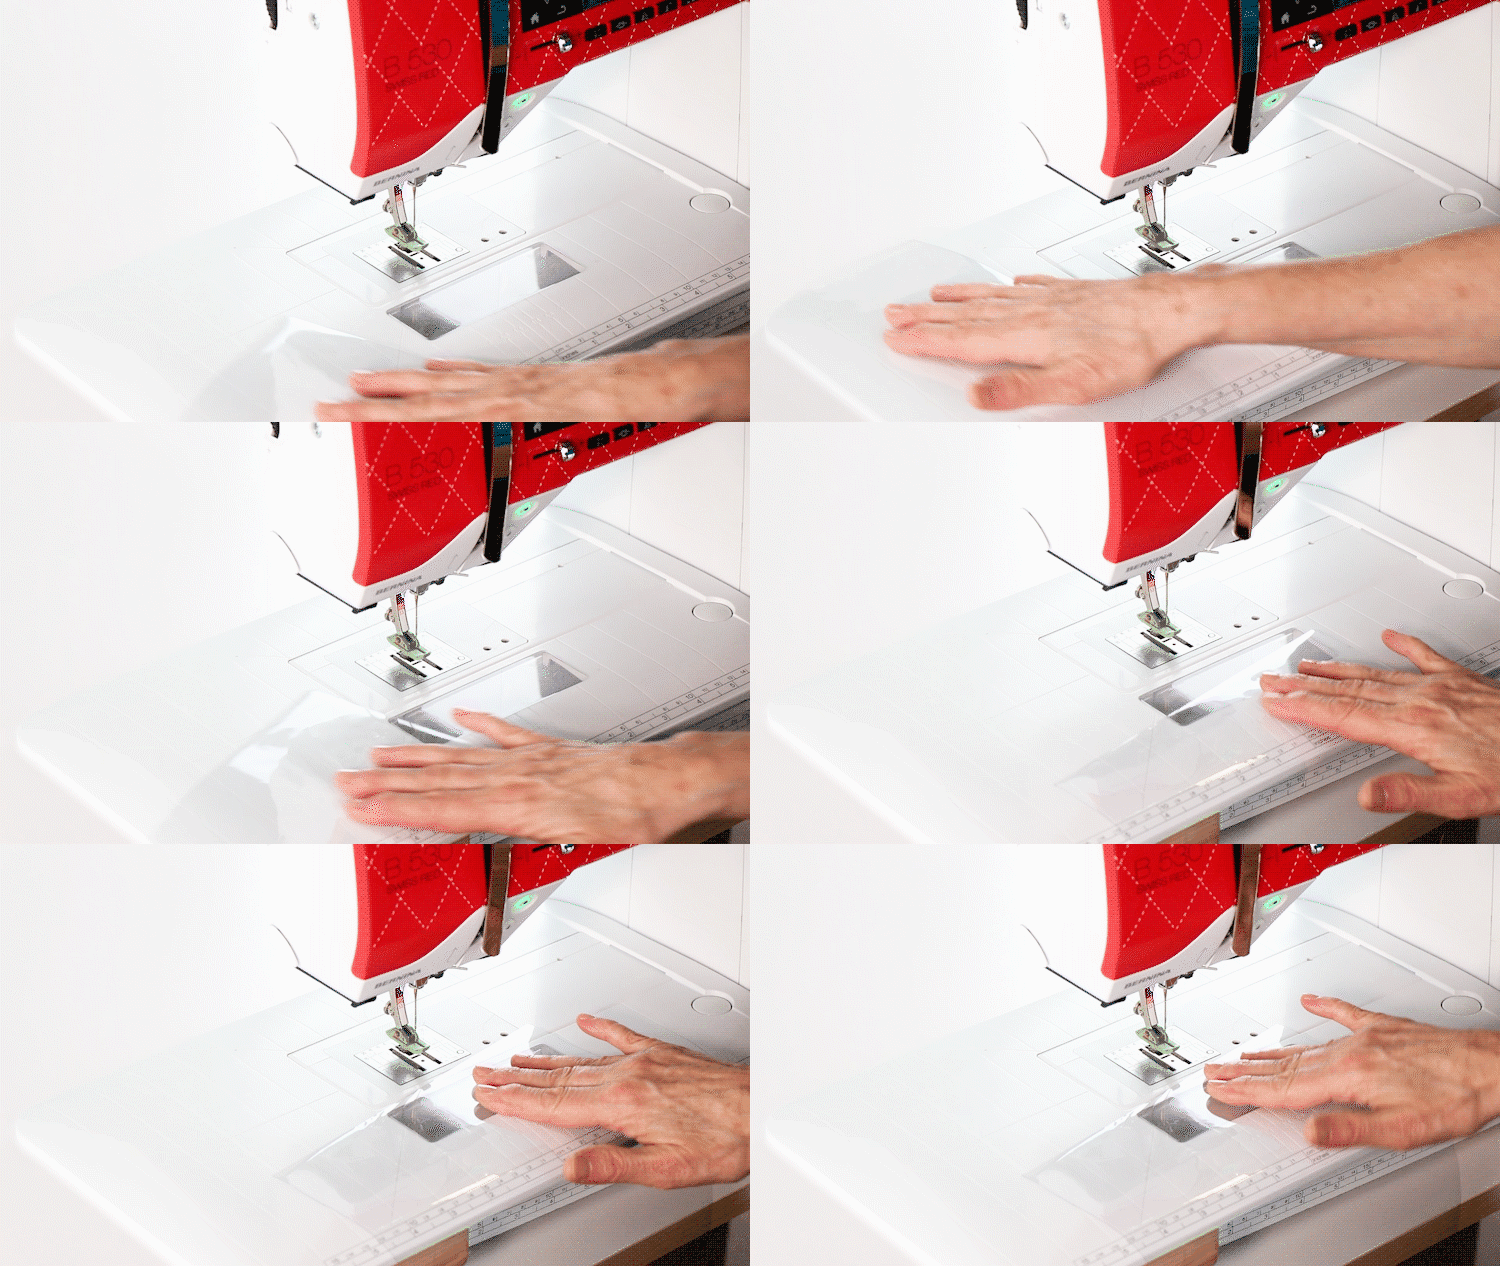
Working with vinyl.
One of the most notable features of Room With A View is the window that allows you to see what is in your bin without unzipping and pulling back the lid. Our vinyl is flexible, durable and easy to sew through.
We use the same needle and thread on our vinyl as we do with the rest of our sewing (90/14 top-stitch needle with a 50-weight polyester thread, and we set the stitch-length at 2.5). Be aware that any stitching on vinyl will leave holes, so if you have to remove your stitches you’ll see the holes. Pins will leave holes, too, so we recommend securing the vinyl with Wonder Clips instead.
Vinyl creates static, which makes it stick to things like plastic. If your sewing machine foot is plastic, the vinyl may stick to it and not want to move as you sew; we recommend using a non-stick teflon foot.
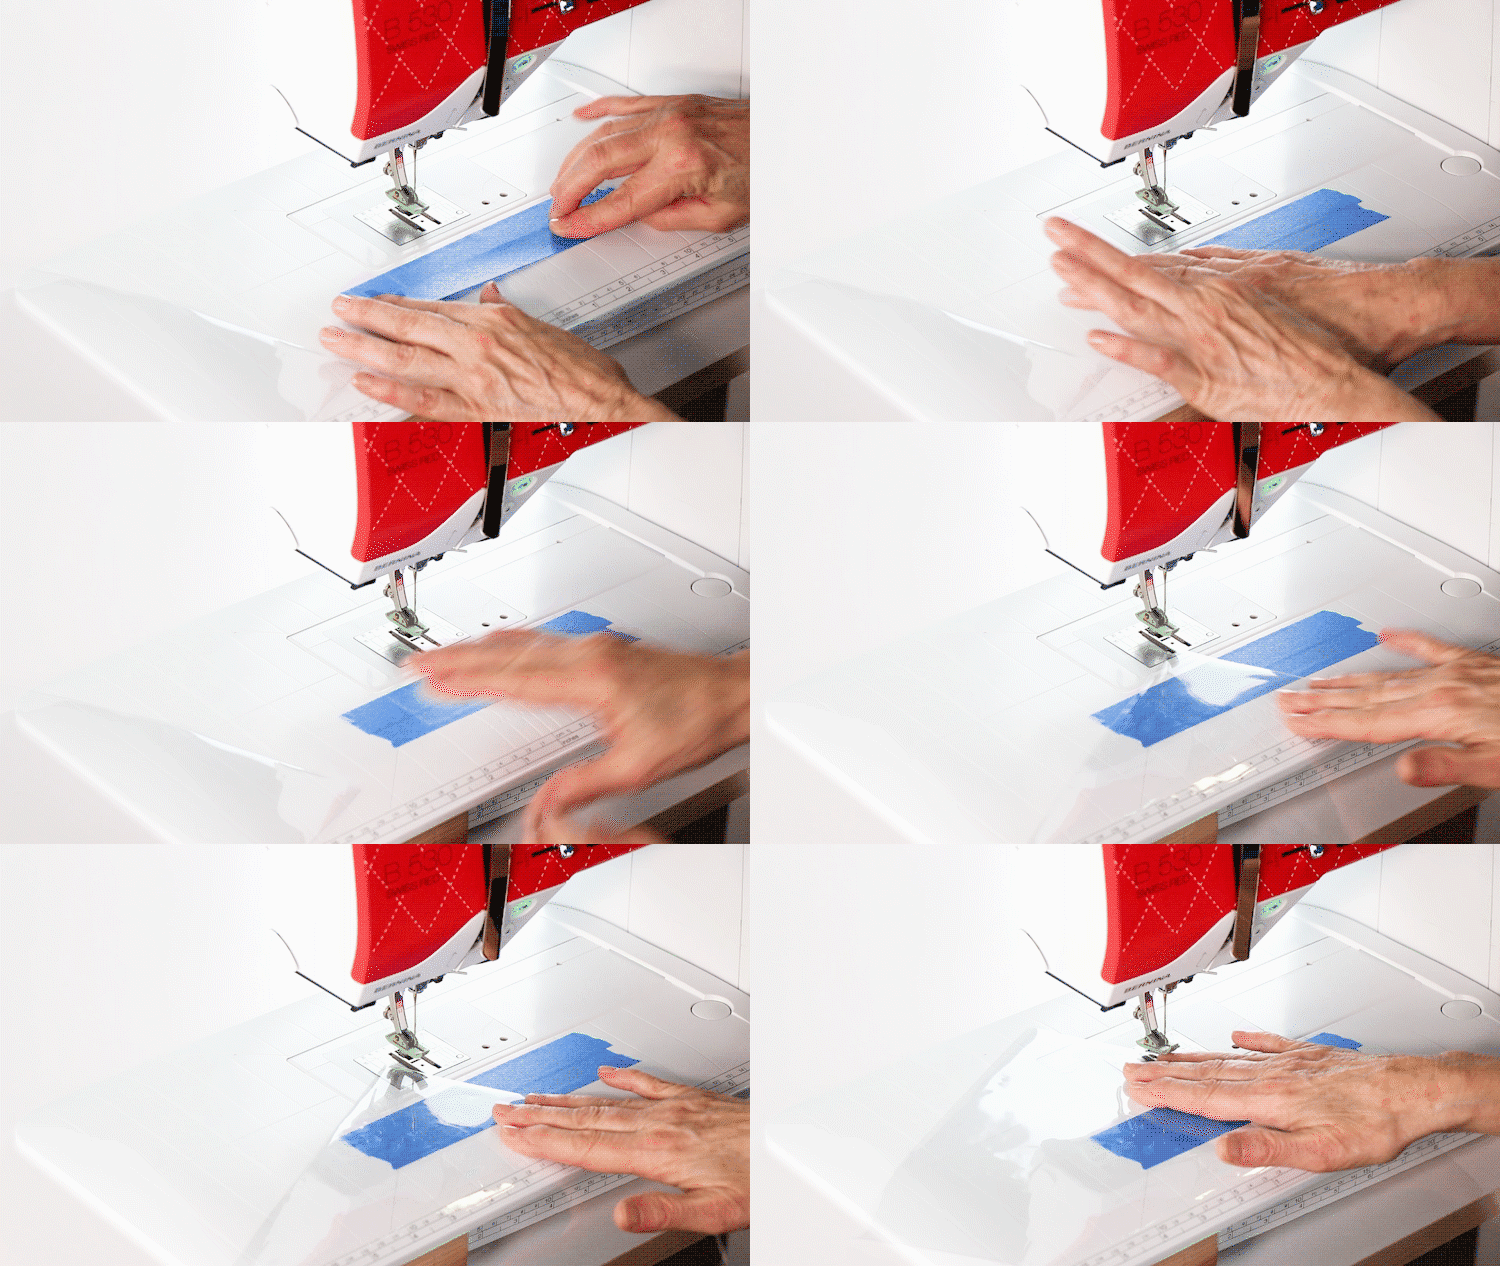
If you’re worried about the vinyl sticking to your sewing machine table as you sew, we recommend placing a piece of painters' tape down so that the vinyl slides smoothly as you stitch.
If your table is plastic, we also recommend taping down the tissue paper that comes with the vinyl to your table to reduce the static.
Sewing with mesh fabric.
There is a convenient zippered mesh pocket in the project located on the inside of the lid of each Room With A View bin. If you haven’t worked with our easy-to-sew mesh fabric, we recommend checking out this downloadable PDF. It’ll give you tips and tricks for sewing with mesh.
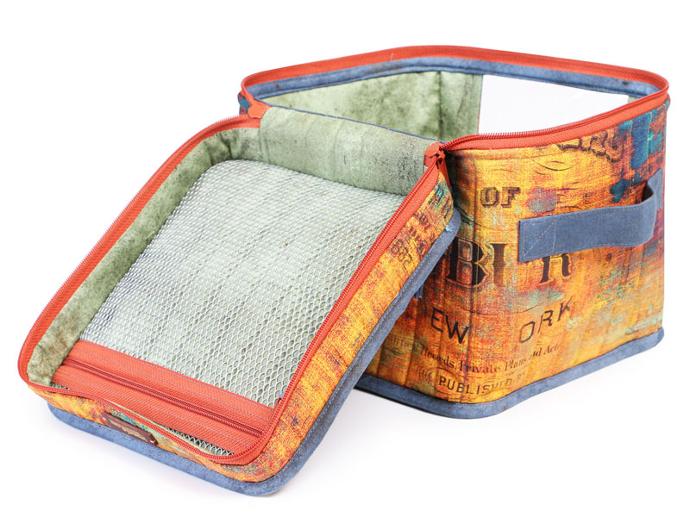
ByAnnie's lightweight mesh fabric is available in 14 brilliant colors. Lightweight and a bit stretchy, this mesh is specially coated to be less slippery while still remaining soft and pliable. 100% polyester. Washer and dryer safe. May be pressed on medium heat.
What do I need to make this project?
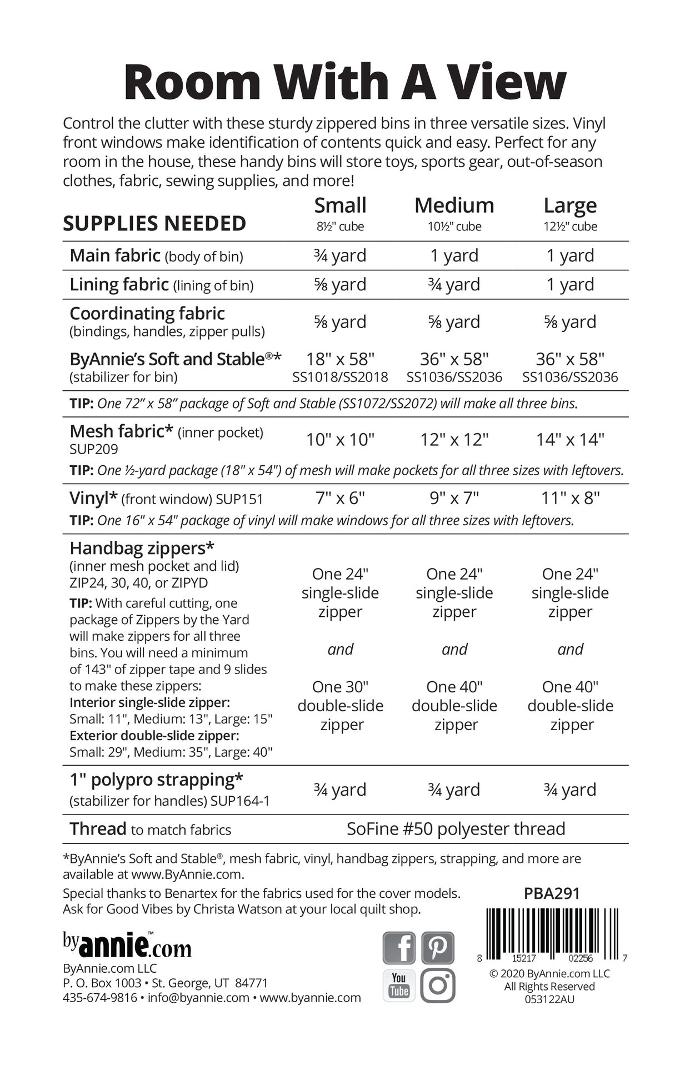
Supplies needed:
- Fabric
- ByAnnie’s Soft and Stable
- Lightweight mesh fabric
- Vinyl
- Handbag zippers
- 1" polypro strapping
- Thread
Click HERE to view more details.
Watch and learn.
We recommend watching the Add-on Video™ before you start sewing, to get a good grasp on what you’re about to begin. The Add-on Video™ can be especially helpful to watch before attending an Room With A View class at your local quilt shop. That way you can be sure to have all your project pieces ready to go before class.

Your paper pattern will come with a coupon code of $5 value that will give you access to the Room With A View Add-on Video. Just add the Add-on Video™ to your cart, plug in the code that comes with your paper pattern, check-out, and watch the video over and over in your digital library. You will need to receive your paper pattern in the mail to get your coupon.
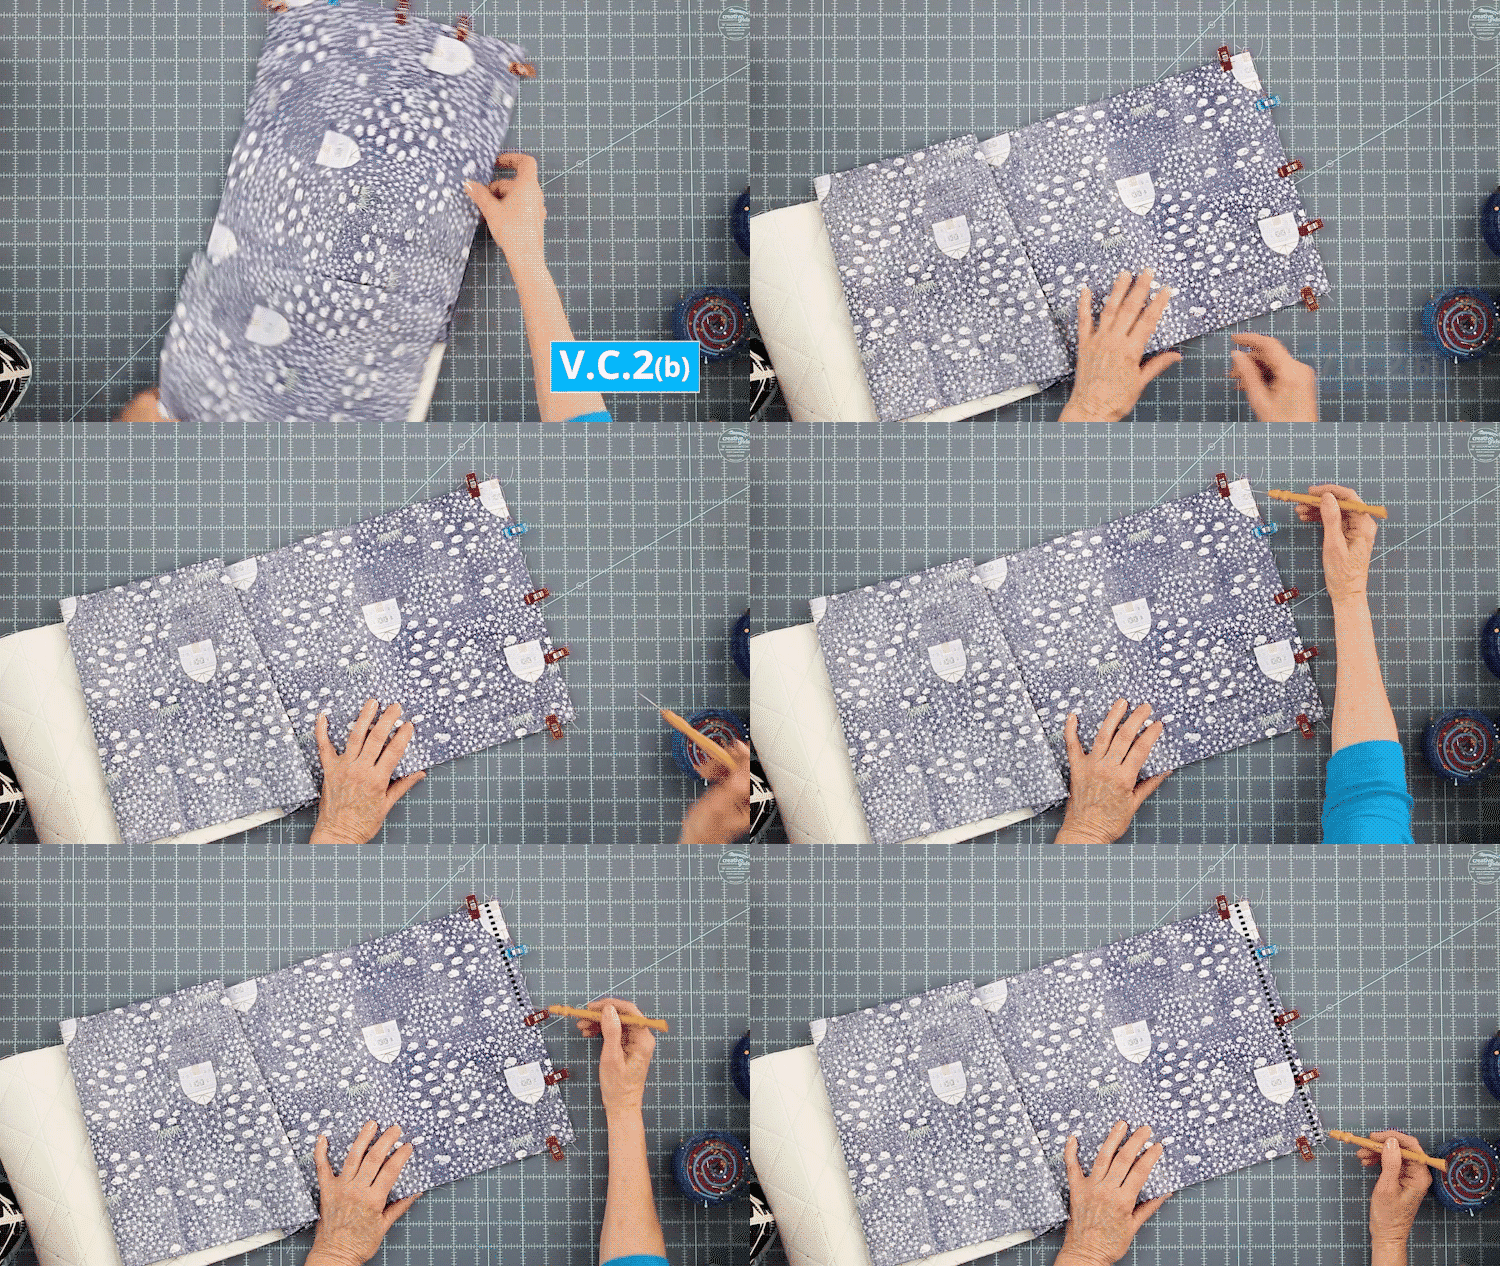
The Add-on Video™ is not a start-to-finish tutorial, but a supplemental video that will walk you through the more unique/challenging parts of the pattern. This video series will help you with these steps:
- Introduction
- Overview of Project
- Join Back Strip Main to Zipper Strip and attach Back Strip Lining
- Attach Window and Body Lining to Body Main
- Attach Lid to Body and Bind
Conclusion.
Thank you so much for your interest in our patterns. We wouldn’t be where we are today without makers like you. Be sure to check out our ByAnnie Photo Contest and follow us on social media at @PatternsByAnnie to gather inspiration for your next big make. Let us know in the comments what you're working on!
----Happy Stitching!
Introducing: Room With A View